This article steps through the process of preparing your photoshop artwork for After Effects. It will also help you get familiar with the concept of keyframing.
Keyframing is a process common across most time-based production tools, including After Effects. It’s really important that we get a good understanding of the keyframing process. You should spend as much time as you need getting confident with this.
Keyframing allows you to change properties of media over time. Media can be images, vectors, video, even sound. The properties of this media can be things like size, rotation, opacity or volume.
In the set of videos that follows, I walk you through the production of an After Effects project.
We start by building a ‘composition’ in Photoshop. Most of the work and planning is done in this first stage. Coming up with a workable idea is key. Conceiving simple animation and making good picture choices will benefit your project. We set out the dimensions of the composition and arrange assets in logical photoshop layers.
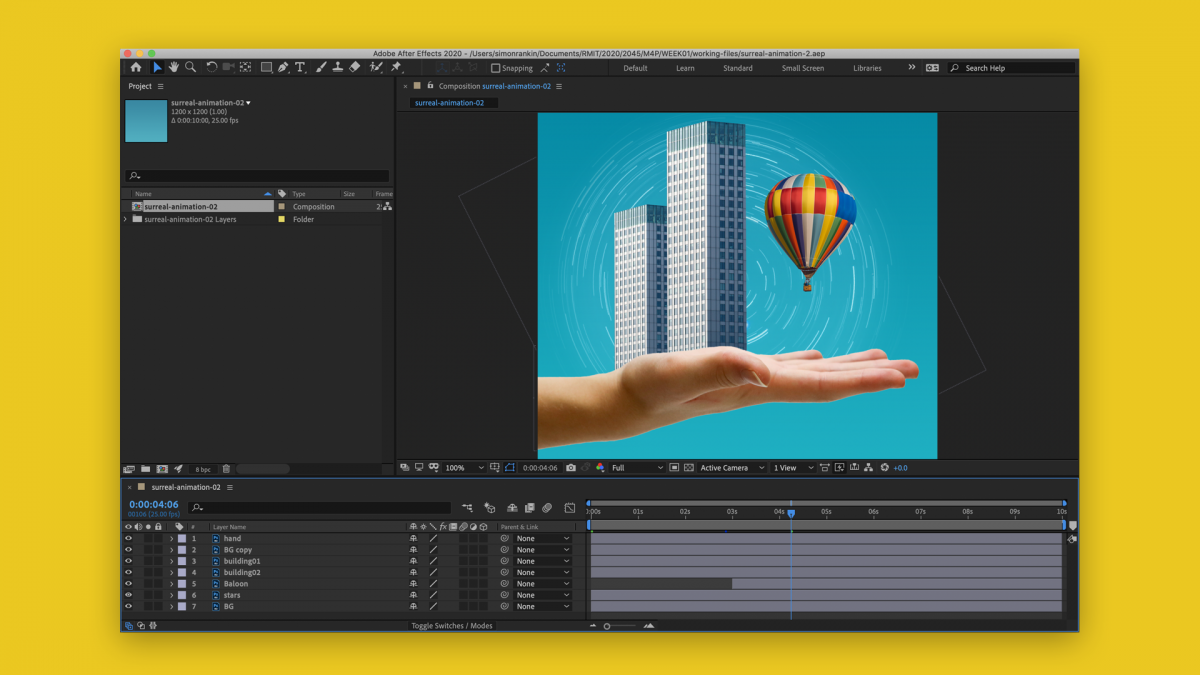
Our completed Photoshop file is imported into After Effects, where we add keyframes to transform properties, creating movement over time.
Finally, we export a video file via Media Encoder, this can be published online or via social media etc.
Links to the image assets used in the following demonstrations are at the bottom of the page.
Building the animation assets
Animating transform properties in After Effects, Part 1
Animating transform properties in After Effects, Part 2
Rendering to video files with Media Encoder
Full workflow revisited
In this video, I walk through the process from Photoshop to After Effect animation a second time. I elaborate further on different transformation possibilities and revise the process of making keyframes to cause animation.
Contact me regarding the working files for this demonstration.