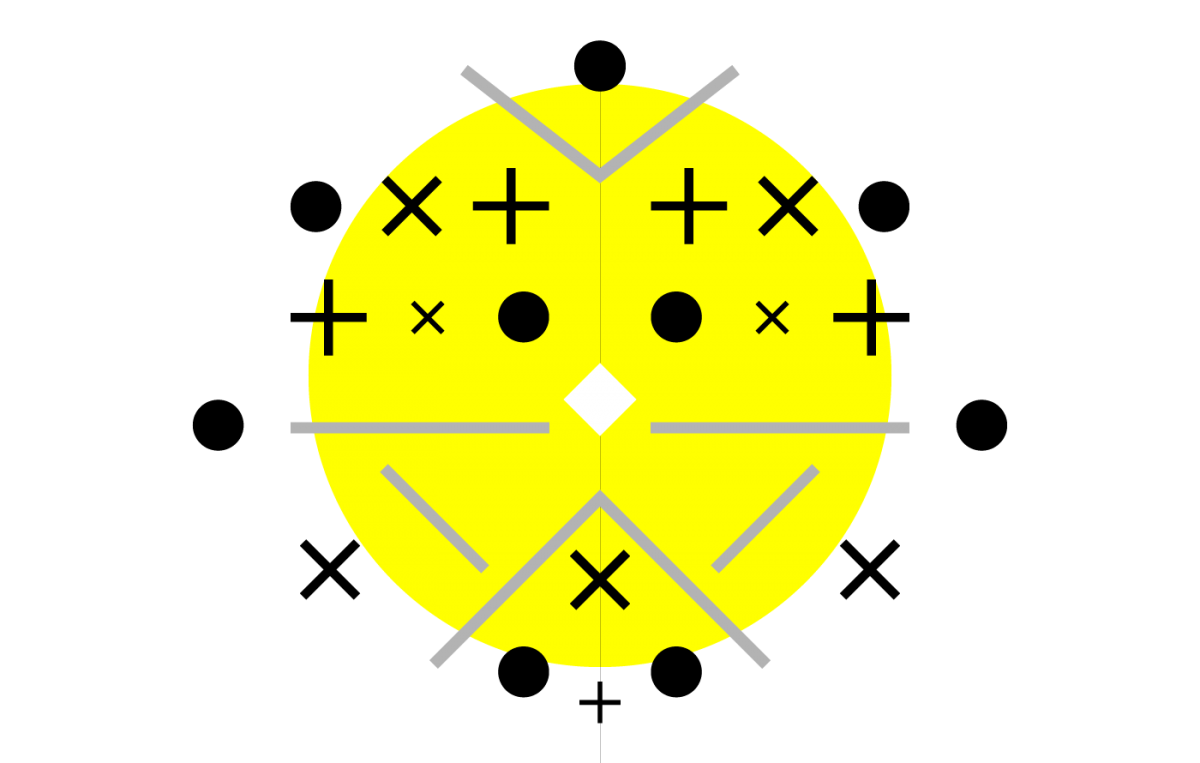
Live Mirror Drawing is a feature in Adobe Illustrator that allows users to create symmetrical designs in real-time. When using the Live Mirror Drawing tool, any changes made to one side of the design are automatically mirrored on the other side. This makes it easy to create symmetrical shapes, patterns, and designs without having to draw each side individually.
How to Use Live Mirror Drawing in Adobe Illustrator – Horizontal Mirror
- Go to View > Smart Guides to enable smart guides.
- Draw a vertical line and a horizontal line to create a cross that marks the center of the artboard.
- Use the align tool to center the lines.
- Change the color of the stroke and reduce the line width of both lines.
- Draw something in the top-right quadrant of the artboard.
- In the Layers panel, click the little circle on the right of the layer name “click to target” to select everything on that layer.
- Go to Effect > Distort and Transform > Transform.
- In the Transform dialog box, choose “1” for the number of copies and select “Reflect X” for the orientation.
- Click OK to apply the effect.
- Draw on the right-hand side of the artboard, and the artwork will be mirrored on the left.
- Draw a shape that covers the right-hand side of the artboard, and make sure it is the top sublayer.
- You can now draw across the center of the artwork and mask the art at the same time.
How to Use Live Mirror Drawing in Adobe Illustrator – 12 Partition Mirror
- Create a new document.
- Draw a vertical line and center it.
- Go to Effect > Distort and Transform > Transform. Choose 5 for the number of copies and 30 degrees for the angle.
- Lock and turn off the visibility of the layer.
- Create a new layer.
- Draw horizontal and vertical lines and center them.
- Click on the little circle to target the whole layer.
- Go to Effect > Distort and Transform > Transform. Choose 1 for the number of copies and “Reflect X” for the orientation.
- Make layer 1 visible.
- With layer 1 selected, draw something in the top-right quadrant.
- Target layer 2 again by clicking on the little circle.
- Go to Effect > Distort and Transform > Transform.
- Click on “Apply new effect.”
- Choose 5 for the number of copies and 60 degrees for the angle.
- Create your artwork.
- A clipping mask can be applied to mask the artwork quadrant.


