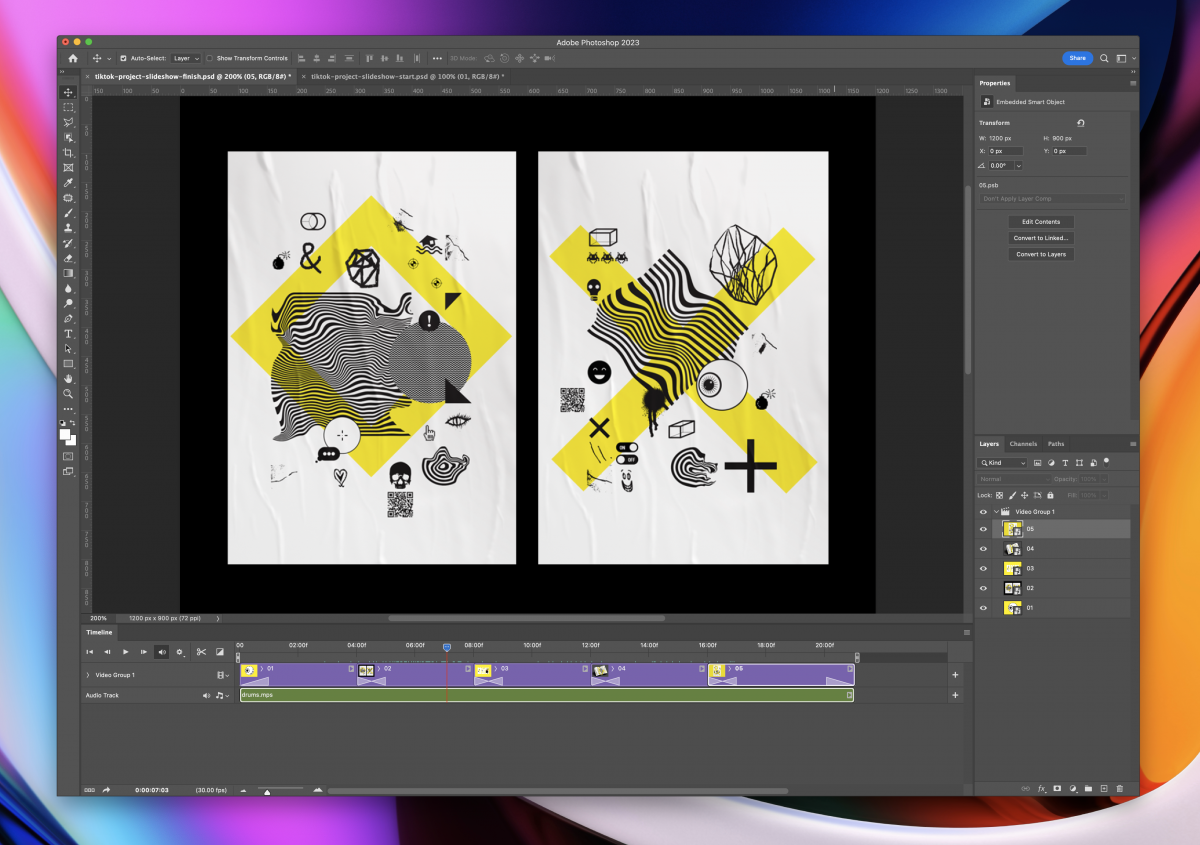
Video slideshows are a popular way to share memories, showcase work, and create engaging content for social media. Adobe Photoshop is a powerful tool that can be used to create visually appealing video slideshows.
To create a video slideshow in Adobe Photoshop, follow these steps:
- Organize your images in a folder and open Photoshop to create a new document with the desired video size.
- Create a new layer for each image you want to use.
- Go to the “Window” menu and select “Timeline” to create a video timeline.
- Drag and drop your images onto the timeline, and adjust the duration and timing of each image as desired.
- Add effects and transitions to your slideshow by selecting the layer you want to modify and choosing from the available filters.
- Drag and drop an audio file onto the timeline to add sound to your slideshow.
- Export your project as an MP4 video file by going to the “File” menu and selecting “Export” and then “Render Video.”
By following these steps, you can create a professional-looking video slideshow in Adobe Photoshop that will impress your audience.


