Rotoscoping is the process of tracing still frames from film or video to creatively retranslate that motion or action. Rotoscoping is an effective technique for producing fluid realistic movement in animation and motion design projects. The aesthetic combines the accuracy of photography with the qualities of handmade art. Rotoscoping allows the artist to use live action as a framework to structure motion design. You can achieve very satisfying results even if you don’t think you’re good at drawing.
Rotoscoping essentially involves tracing live action.
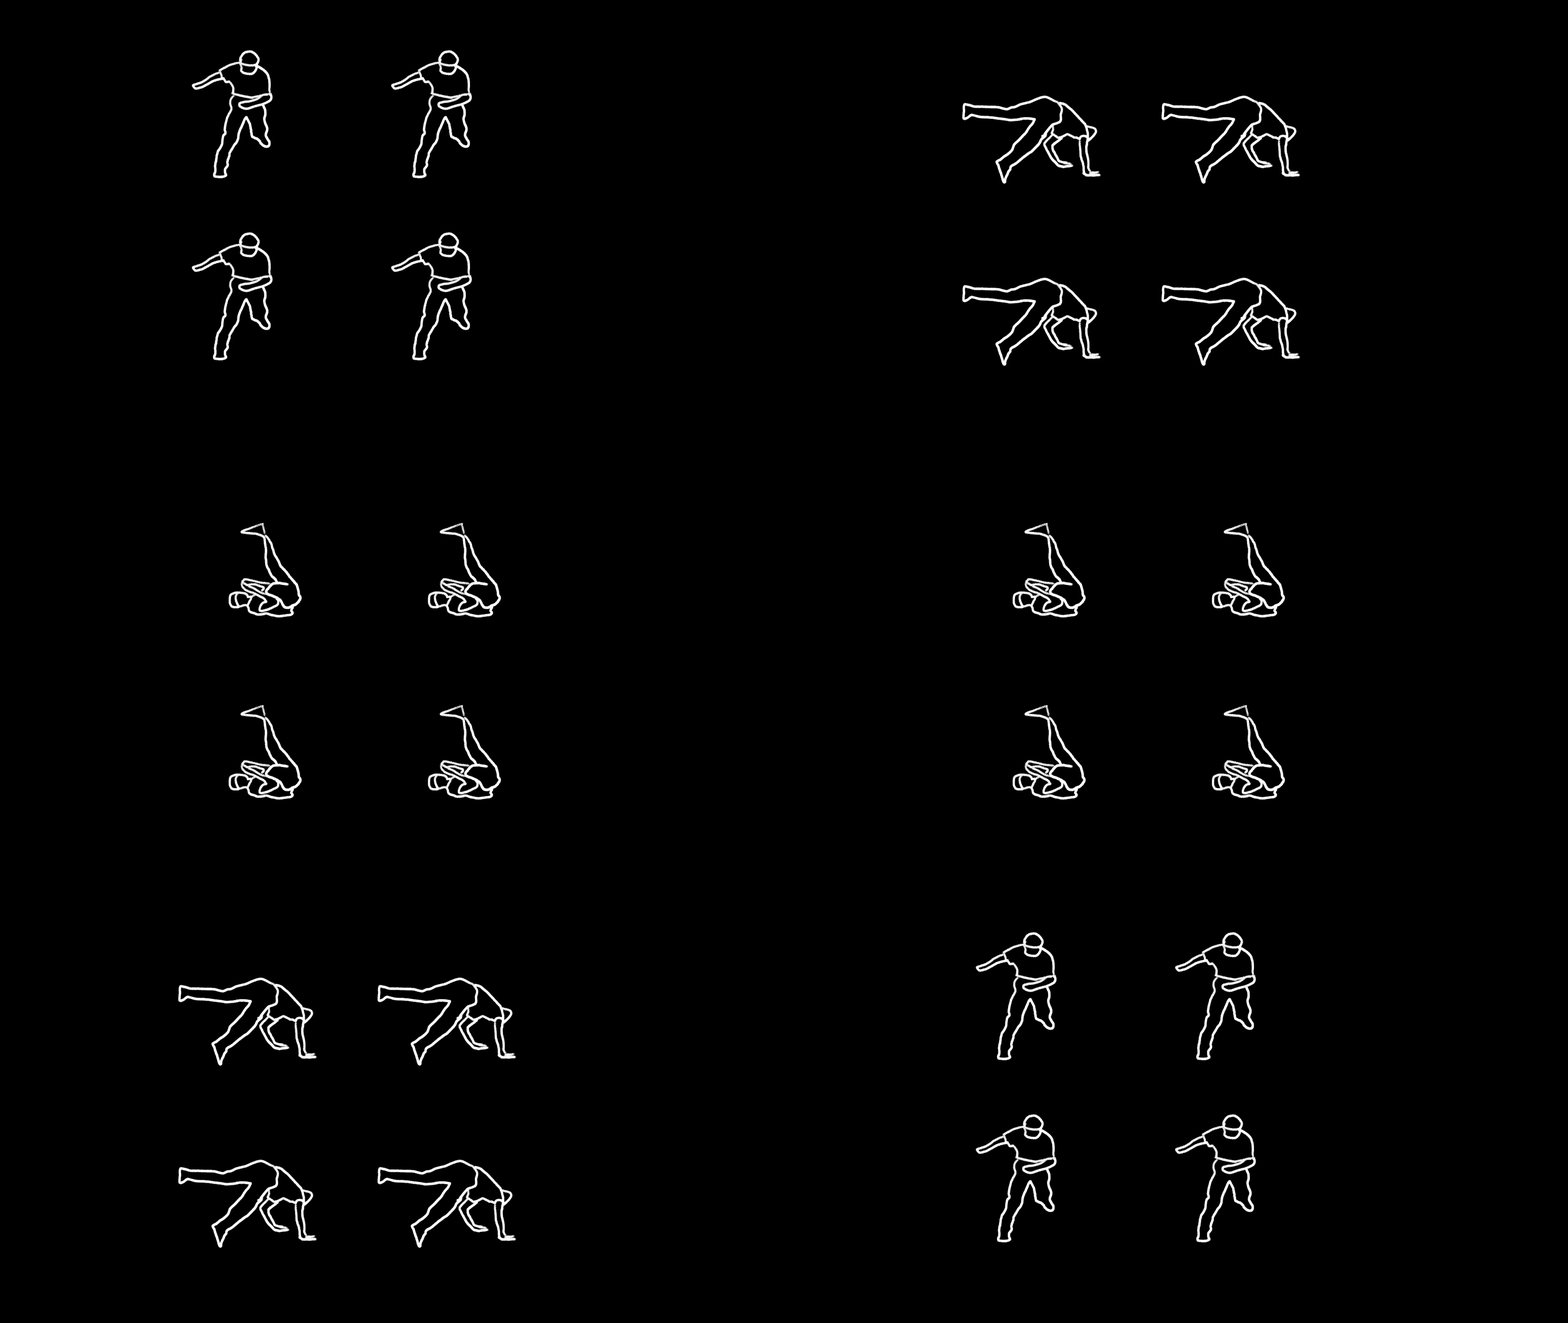
Here is an example I made:
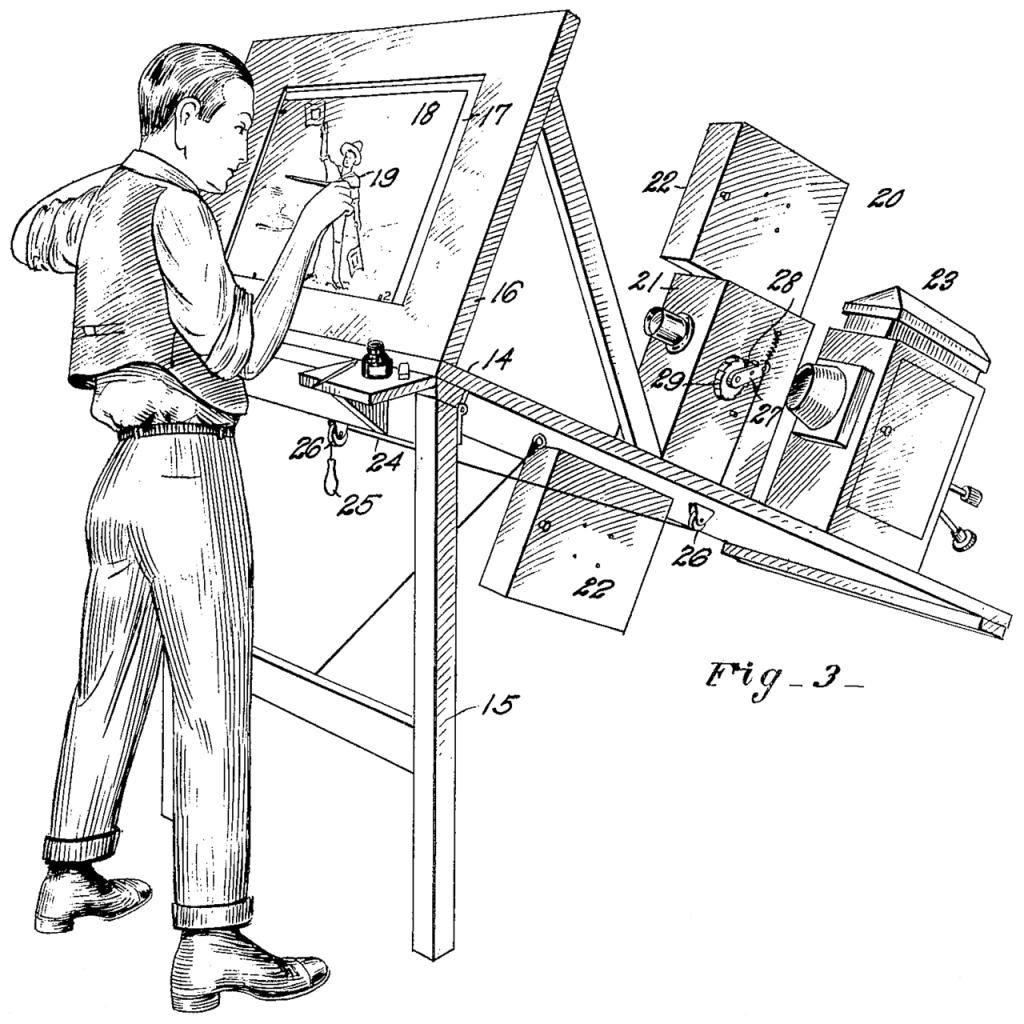
The rotoscope technique was invented by Max Fleischer in the early 1900s. He invented a device that projected film frames onto the back of an easel, where an artist could trace the image with traditional media. The artwork was then photography back onto film. The technique injected early animated films with a sense of realism. The flow and movement that artist could achieve with rotoscoping was strikingly different to a lot of the jerky and stilted animated films of the time.

Fleischer’s studio, The Inkwell Studio’s churned out animated films during the silent film era. One of their successful characters was Koko the clown from the Out of the Inkwell series. These films where interesting in that they mixed animation and live action footage.
In the 1930’s, the patent on Fleischer’s Rotoscope device expired and the technique was taken up by bigger studios, including Disney. An adaptation of the technique was used in the production of the 1937 feature-length animation Snow White and the Seven Dwarfs.
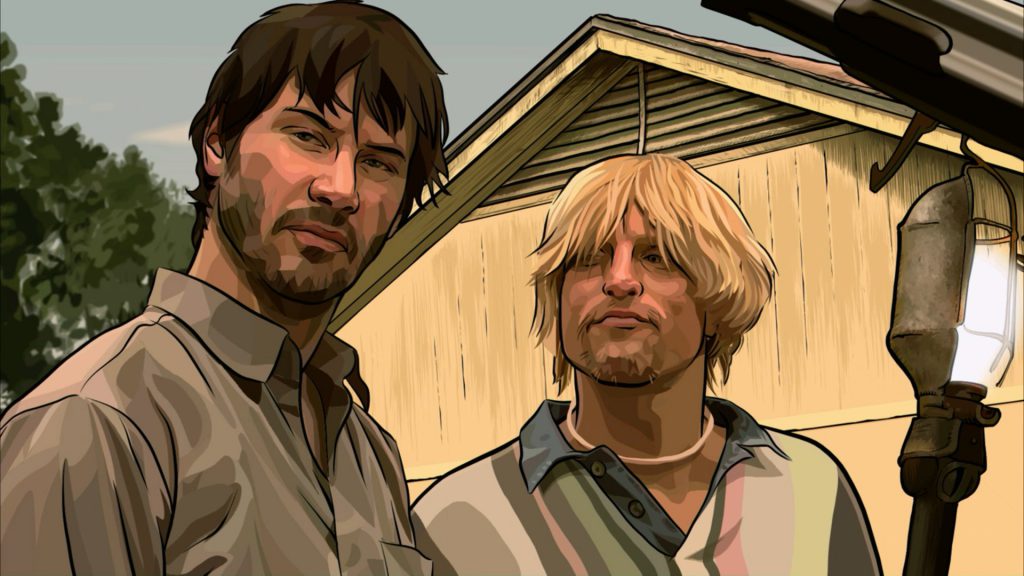
Recent use of the technique in feature films includes the 2006 film, A Scanner Darkly and the 2017 film, Loving Vincent. Both films are recognised for their incredibly detailed use of rotoscoping.
The production method for A Scanner Darkly involved shooting live action film first, then applying a process of vector rotoscoping in post-production. The animators used a digital tool called Rotoshop. Animators traced keyframes with vector drawing and the software interpolates the in-between frames automatically.
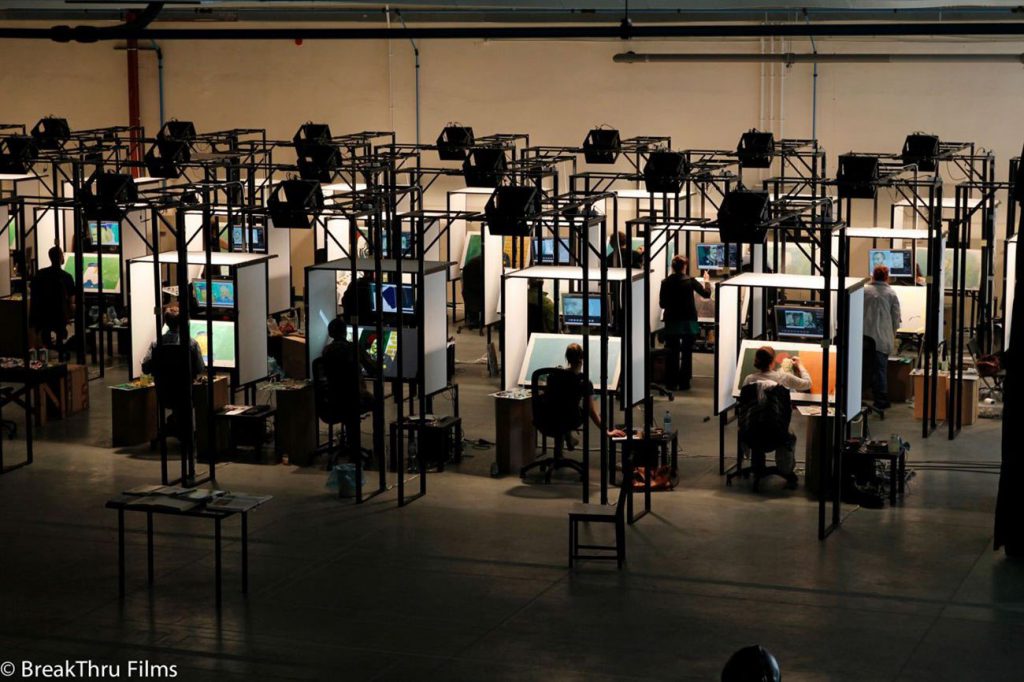
Loving Vincent was produced using an extreme form of rotoscoping. Again, the film makers used live action film as a base. The live action film was cut and edited as usual, but then each frame was projected onto canvas and a Team of 125 classically trained oil painters recreated the frames in oil paint. The finished paintings where re-photographed and sequenced to create the final film edit. The process took six years to complete.
Rotoscoping is also extensively used as a compositing technique in digital film making. Where an artist will physically paint transparency into a scene frame by frame. This technique is often referred to as Matte painting.
There are numerous digital desktop tools that can be used for DIY rotoscoping. Adobe Photoshop allows for bitmap tracing over video frames and with Adobe Animated you can active rotoscope effects with vectors.
The following is my process for rotoscoping video in Photoshop.
Rotoscope in Photoshop demonstration instructions

- Open a video file in Photoshop. File > Open
- Open Timeline panel. Window > Timeline. Take note of:
- Playback controls
- Playback head
- Time increments in frames/seconds
- Clip in layers across time
- Timeline dropdown menu
- Change frame rate in dropdown menu
- Set Timeline Frame Rate… Making the frame rate high will achieve a smoother animation but create more work for yourself. Around 8-12fps will be adequate.
- Change length of clip by dragging the Set End of Work Area handle and also dragging the in and out point of the video clip
- Optionally crop the canvas around the action you will trace. Use the Crop Tool
- Create a new blank video layer to draw in
- Layer > Video Layers > New Blank Video Layer
- Set the transparency of the video clip to 50% in the Layers Panel
- Add a white solid layer to the bottom of the layer stack
- Decide on brushes and colours to use
- With the Timeline indicator at frame 1, begin drawing in the blank video layer
- Go to frame 2 by using the arrow keys on the keyboard. You can also use the timeline playback controls
- Enable Onion Skinning from the timeline dropdown. You can alter the amount of onion skins in the Onion Skin Settings…
- Step through each frame and create artwork
- You can save your work as a PSD
- Output your rotoscope video to a QuickTime movie. You can then composite this in After Effects
- Render Video… in the timeline dropdown menu
Assets
I used a video of a dancer from Pexels for the about demonstration.


