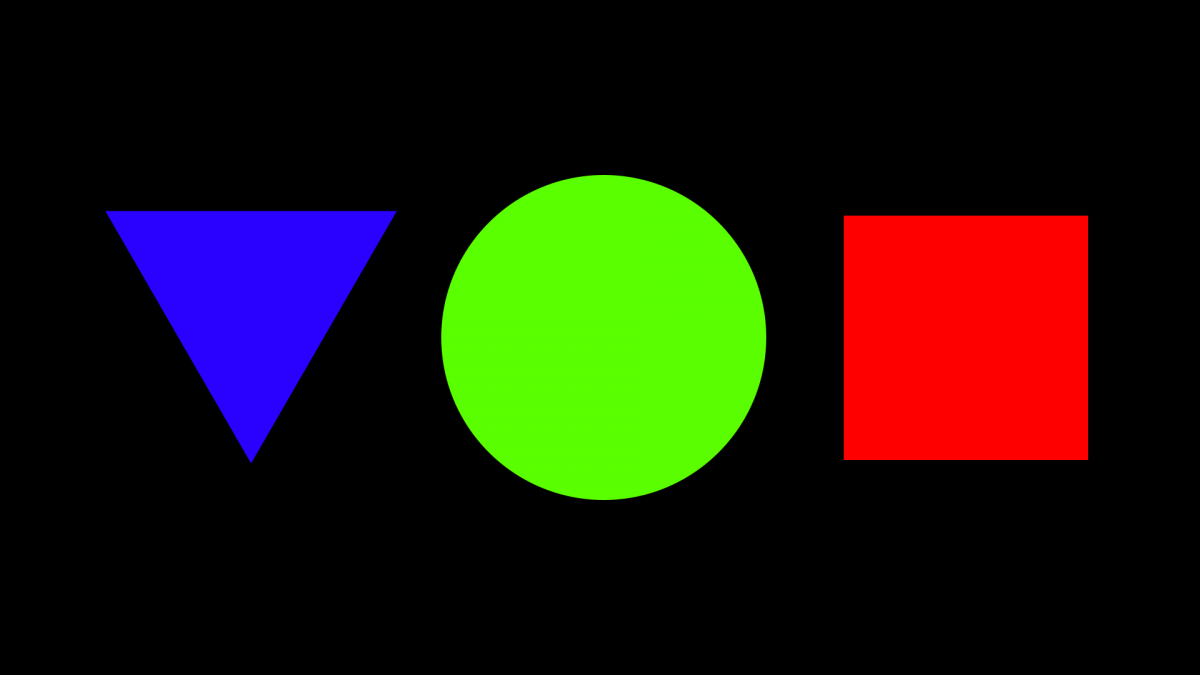
Shape layers are a tricky but very powerful tool in After Effects. They are particularly good for artists that are comfortable with vector work. Shape layers have many properties that can be animated, the transform properties, stroke/fill, and also the vectors themselves. In the following series of videos, I take you through some of the key possibilities with shape layers. We create different types of shapes. Look at the difference between parametric and bezier shapes. We animate heaps of different properties. We also look at add-on operators for even more animation potential.
You’ll be happy to discover that shape layers are relatively lean when it comes to rendering and playback.
We start off pretty simply. Creating a square with the rectangle tool (q) and animating it’s basic properties.
Animating the fill colour of a shape is pretty cool.
There are a couple of different types of shapes we a can use. Parametric shapes are kind of locked. We can transform and manipulate the shape as a whole but can’t access individual points. To work with points we can convert to a bezier shape.
There are plenty of possibilities with stroke animation. We can animate the stroke weight and colour overtime. Dashes and tapering can also be added. Multiple strokes on a single shape layer is mad.
Further operators can be added to a shape layer. In the next video, I have a quick look at how to trim paths. This could be really helpful if creating a handwriting effect or revealing a logo. There are a number of other operators to add, including offset path and pucker and bloat.
In this video, I combine a number of shape layer into an animated loop.
Finally, I combine all the previous work by nesting it inside a new composition. I also explore ways of sequencing assets across time.


